Preparing your Adventure Triathlon Transition Bag
Category: Challenge Event Advice and Guidance
Posted by Holly Moffitt
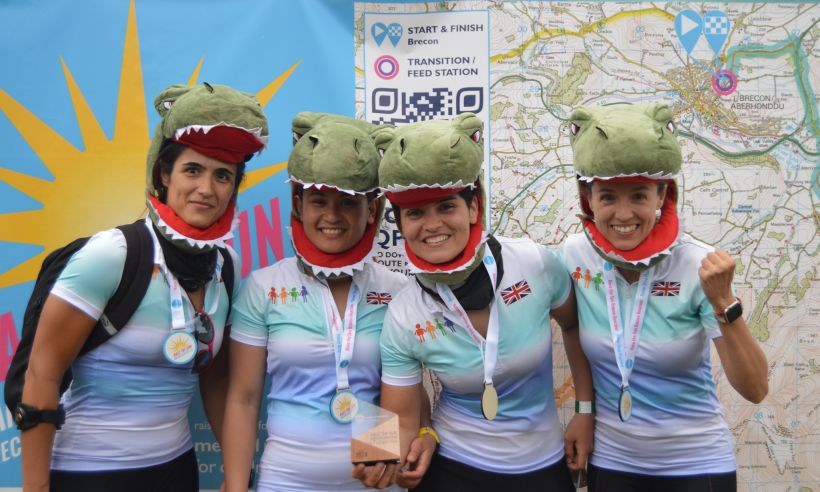
When taking on one of our Adventure Triathlon events like Race the Sun, or Pedal, Paddle, Peak, that combines 3 phases of cycling, hiking and canoeing, the time spent in ‘transition’ are key to helping prepare and maintain your comfort in the next phase of the event. When it comes to FAQs, ‘Prepping a Transition Bag’ is one of our most asked questions.
So, let’s dive in!

Your Transition Bags
You could be using your own transition bags, or using one of our provided bags which are shared between the team, their purpose is so you can swap kit and gear up for the next stage of your challenge and refuel with your favourite nutrition.
Depending on the format of your event, you may be provided with the following bags:
- Hike Phase Transition bag: 100 Litre (shared between your team)
- Canoe Phase Transition bag: 40 Litre (shared between your team)
If we are not providing you with transition bags, we’d suggest bringing kit in:
- Plastic boxes with lids
- Bags for Life (Shopping bags)
- Large roll-top dry bags
As part of the Event Guide you’ll be emailed, you’ll find a carefully collated kit list. Follow this meticulously and everything will fit comfortably inside the bags. There should be nothing outside of the transition bag. It is a fine-tuned work of art! The bag capacity may mean you have to think smart about your packing and prioritise the essentials over the luxuries, but you can and will fit what you need to succeed!
There is a balance to strike – therefore no need to pack a Mary Poppins bag of extra kit nor do you need enough snacks to run your own tuck shop.
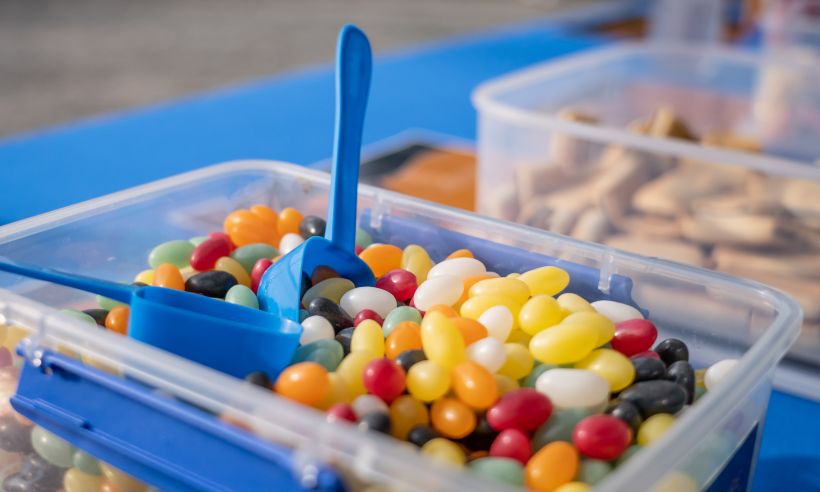
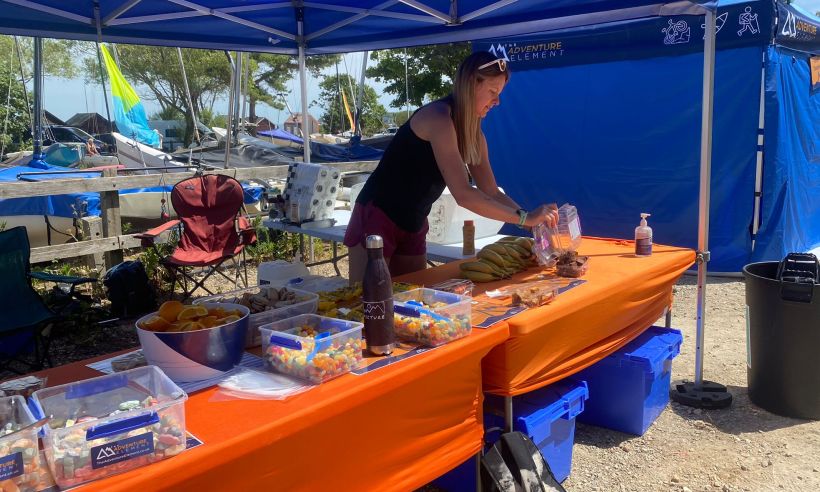
REMEMBER: Whilst having your favourite snacks is lovely, you will have access to our well-stocked feed stations as well.
Comfort is key
Maximum comfort = Maximum enjoyment. It’s a simple equation.
We appreciate that racking up countless miles in the saddle, on the trail and in the boat isn’t always a recipe for comfort, but there are certainly things you might like to include in your transition bag to maximise your chances.
The Cycling Phase
As part of your training, it is wise to try out your padded shorts to determine what design you find most comfortable and if you need the welcomed help of some chamois cream!
There will be mechanics enroute to help you with any issues or punctures but you are required to carry your own repair kit, spare inner tube and bike pump so you can begin to help yourself if the need arises and limit any waiting around.
The Hiking Phase
It may be tempting to skip items on the kit list if the forecast is leaning one way or another, but weather can change in an instance so you must come prepared.
REMEMBER: You must carry the mandatory items on the kit list, regardless of the weather! NO kit, NO hike. Failure to carry the correct clothing and equipment may result in you not being allowed on the hike phase for safety reasons.
Mandatory Kit:
- Hiking boots/shoes with ankle support and good tread.
- Waterproof Jacket and Trousers. (Gore-tex or similar)
- Warm layers.
- Hat.
- Gloves.
- Water bottle or bladder. (Min. 2 litres)
- Rucksack 20+ litres. (Must have 2 x padded shoulder straps)
- Head torch with batteries.
Padded rucksack straps and spare socks (with a slug of baby powder in for extra comfort) are great ways to be kinder to your body and minimise your chance of blisters or hot spots.
Walking boots or Hiking shoes are essential. You will not be allowed on the hike phase if you’re wearing sports trainers or fashion boots. Train in your hiking footwear so your feet feel the benefit and appreciate the added comfort. Do not rock up with new boots, you will regret it. But pack some blister plasters, just in case!
The Canoe Phase
Most participants will wear their cycling or trekking clothes, with waterproofs/windproofs over top if it’s cold and windy, along with their second set of ‘wet’ footwear. This requires minimal faff and most importantly keeps you warm. We cannot guarantee you’ll stay dry in the boats, but something to protect you from the wind will keep you warmer.
Bare feet are not permitted so pack footwear that can get wet (water shoes, trainers, sandals or crocs) and have a second set of footwear to change in to, as well as change of dry clothes you can slip on post-event.
The satisfaction of a warm jumper, cold beer in hand and burger fresh off the BBQ is hard to beat – all of that after completing an Adventure Triathlon event… is out of this world!
You can view the full kit list for your transition bag RIGHT HERE >>>
Your Transition Bag Timeline
Event day is upon us and you’re rocking up to registration with all the gear and your teammates by your side. Let’s run through the event ahead where we are providing the transition bags:
- When you arrive at registration, you will be given your team’s waterproof transition bags (1 x 100lt / 1 x 40lt).
- Your full team's kit must be placed in the bag and all the kit required for each phase into the relevant transition bag whilst at registration. Follow the provided kit list and it will fit!
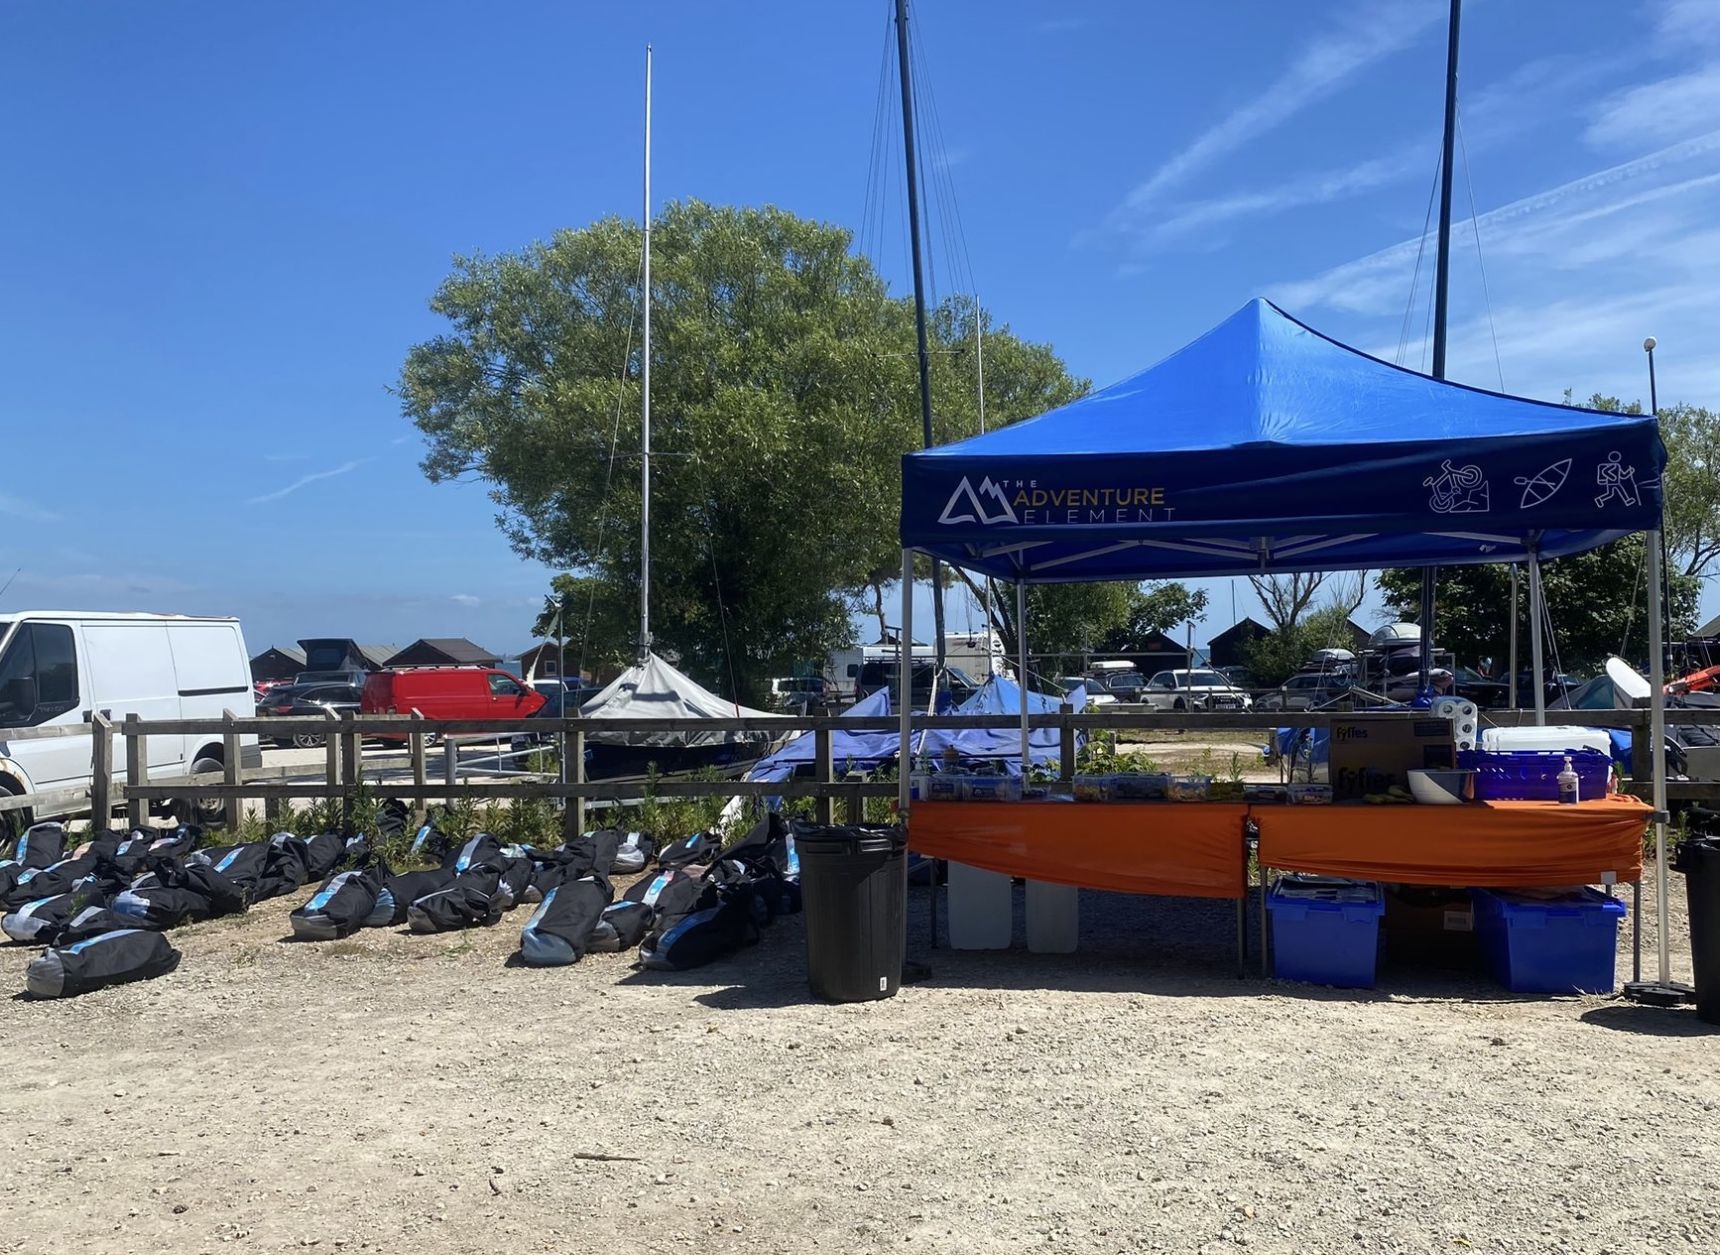
- Your transition bags are placed on to our event vehicles to be transported to the remote transition areas ahead of the event.
- When you transition between each phase, your bag will already be at the transition area for your team to use.
- Once you have completed both activity phases and the finish line is in sight, your bags will be brought back to the event hub for you to collect.
IMPORTANT:
- You must bring all equipment during the registration. Anything you do not have with you at registration will not be transferred to the remote transition areas.
- We will endeavour to have your bags at the finish line before you finish. However, please be patient if there is a delay. There are lots of logistics taking place behind the scenes!
Lastly, we will leave you with some handy tips to consider as you begin to prepare for your Adventure Triathlon.
Top tips for packing efficiently:
- When you hand your transition bags over at registration, this is your only opportunity to have items transported to your transition areas ready for the challenge. It could be worth printing off the kit list or having a copy on your phone that you can refer to and ensure you have everything you need through each phase.
- Consider using additional dry bags to keep your kit together inside your transition bags. This will help trap in any sweaty clothing as you move from phase to phase.
- Place any loose items into clear zip lock bags so you can easily spy them – this might include elastic band, plaster, hair tie or safety pin.
If you have any burning questions, please don’t hesitate to touch base with the team. We’re keen to help you get the most from your event experience. After all, you signed up for a fun day out (maybe type 2 fun at times) and that’s exactly what you are in for!